
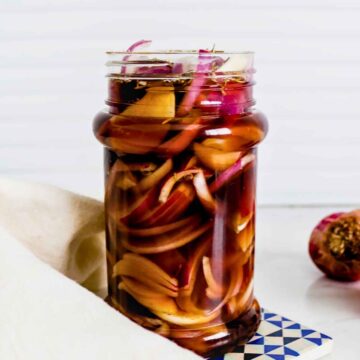
Pickled Chilli Peppers are a simple and delicious way to add a spicy, tangy kick to your meals. With just a few ingredients, you can easily preserve fresh chilies and enjoy their vibrant flavors all year long.
Whether you like mild heat or fiery spice, pickled chilies are a versatile condiment that can enhance everything. Spice up your Sandwich, Wrap, or even Salad. They’re the perfect addition to your pantry for a quick flavor boost!
Jump to:
I love growing chilies in my garden, and I end up with more than I can handle every year. Rather than letting them go to waste, I prefer to preserve them by making a chilli pickle.
Pickling chilies is a simple process, that deliciously enhances its flavor. This easy recipe uses a mix of tangy vinegar, garlic, and a hint of sugar to create a mouthwatering pickle that will add spice and zest to all your favorite dishes.
Ingredient Notes
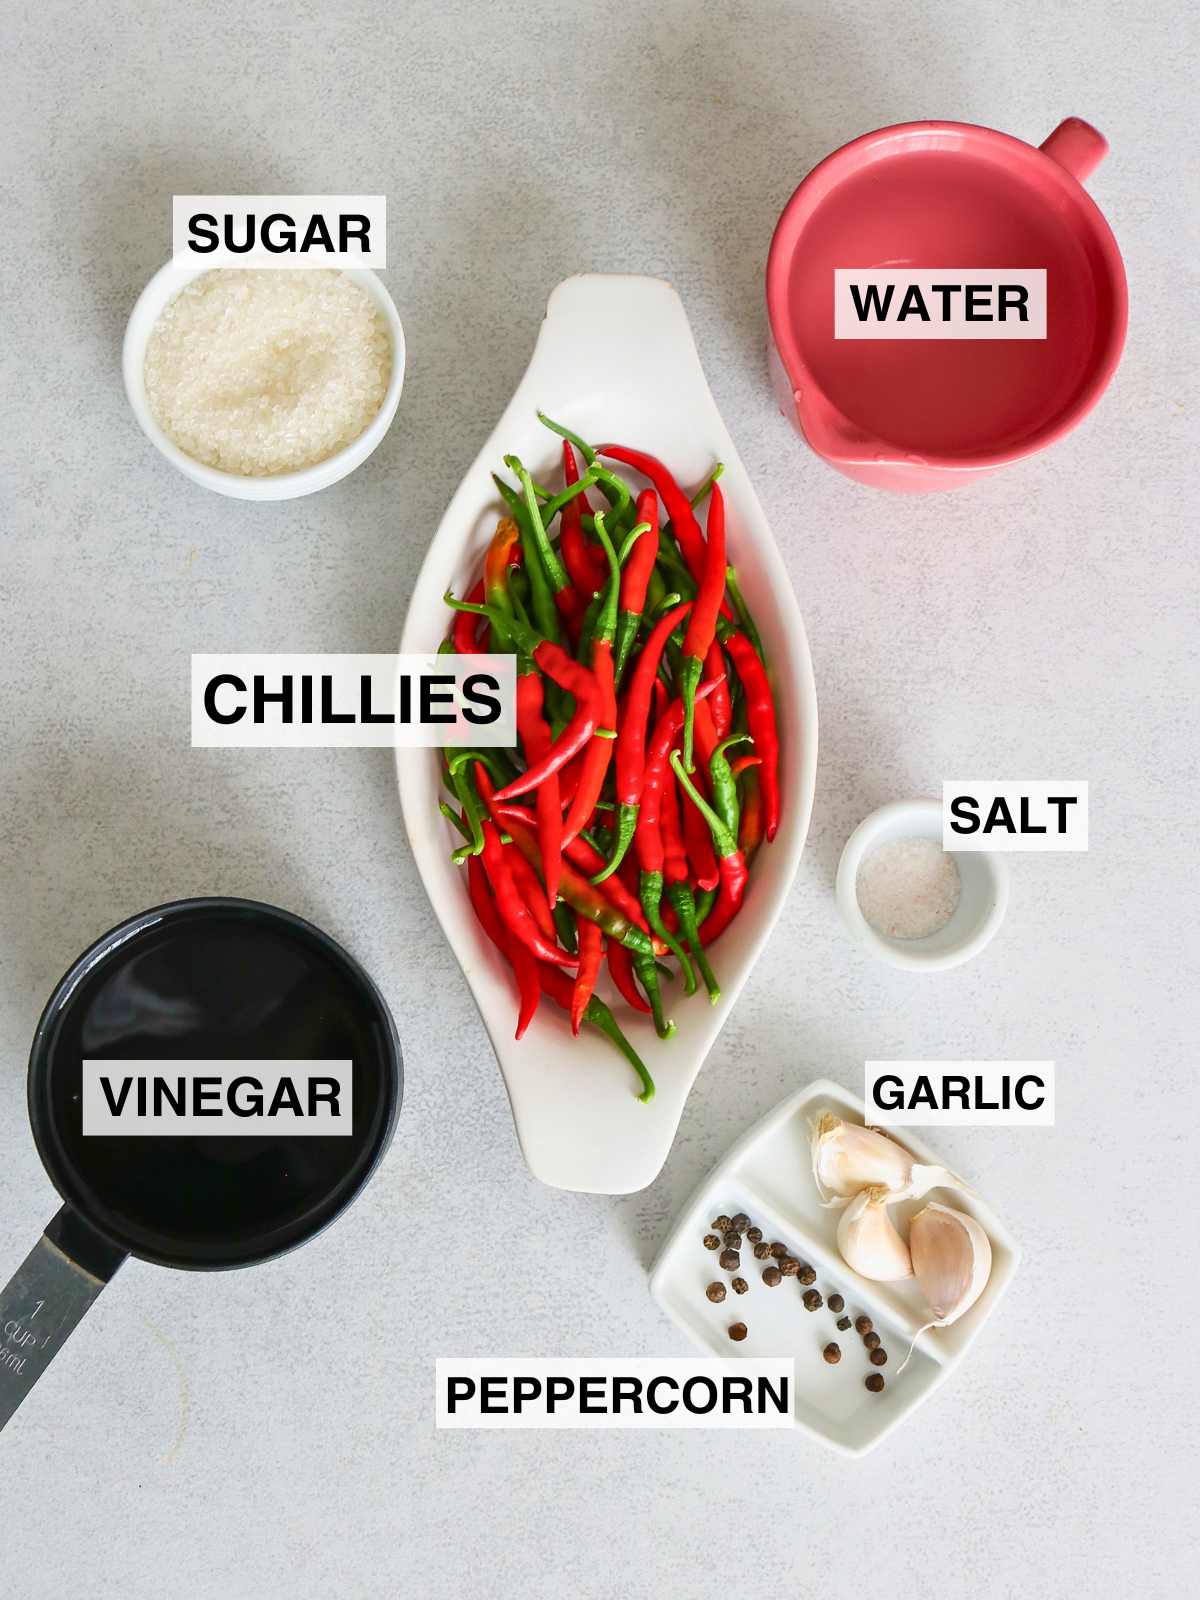
To make pickled chili peppers you need
- Assorted Chilli Peppers: Use any mix of green and red medium, or hot chillies based on your spice preference. Fresh, firm chillies work best.
- White Vinegar: Provides the tangy base for the brine, preserving the peppers and adding flavor.
- Water: Balances the acidity of the vinegar for a milder taste.
- Sugar: Adds a touch of sweetness to offset the tanginess and spice.
- Kosher Salt: Essential for enhancing flavor and preserving the peppers.
- Garlic Cloves: Adds a subtle, savory flavor to the brine.
- Black Peppercorns: Gives a bit of extra warmth and spice to the pickling brine.
Choosing the Chilli Peppers
This recipe works with any type of chili pepper, from mild bell peppers to superhot like habaneros or ghost peppers. Choose fresh, firm chilies with no signs of softening or disease. The fresher your peppers, the better the pickle!
Procedure
1. Prepration
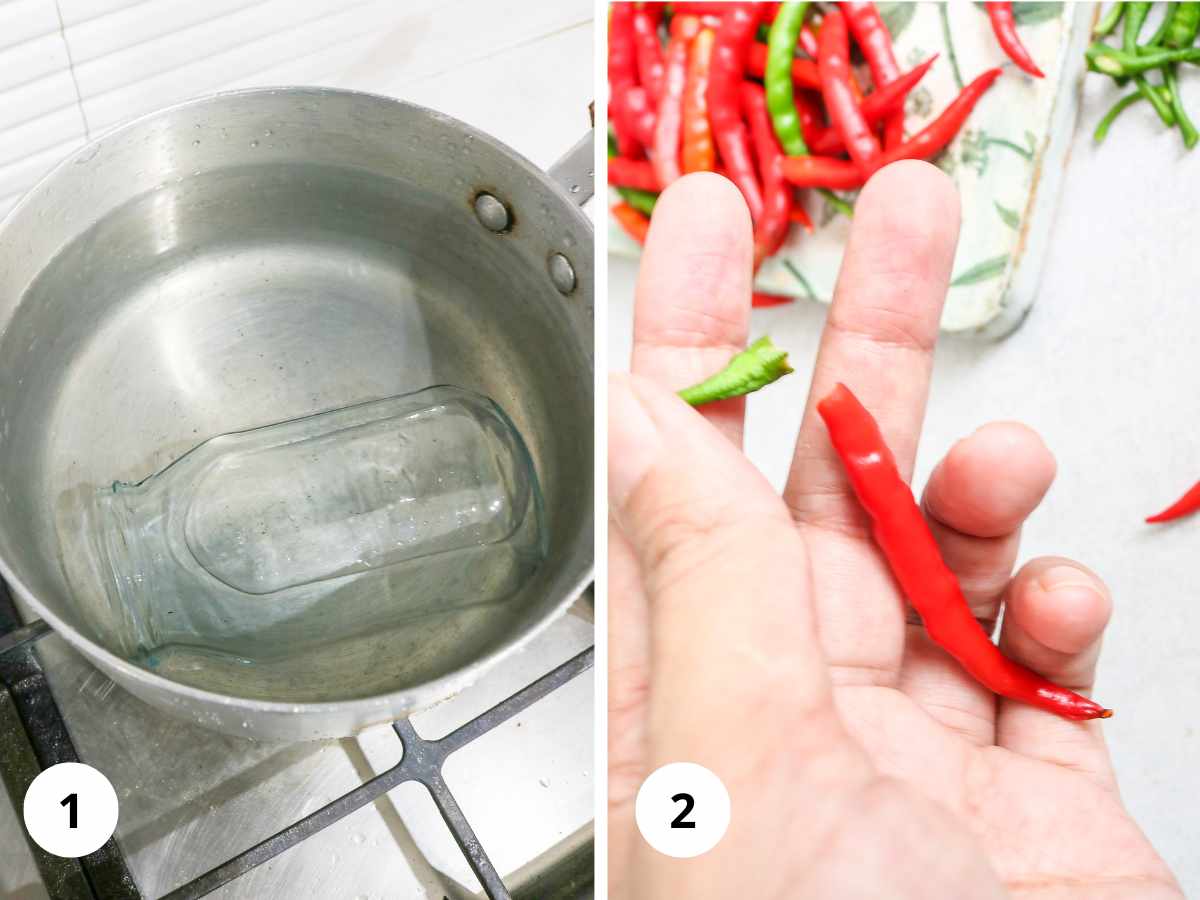
Sterilize your jars and lids by boiling them in water for about 30 minutes.
Before pickling, it's important to wash chili peppers thoroughly. Make sure to dry them completely to prevent any extra water from diluting the brine. Remove the stems from chilies and slice them if you prefer smaller pieces.
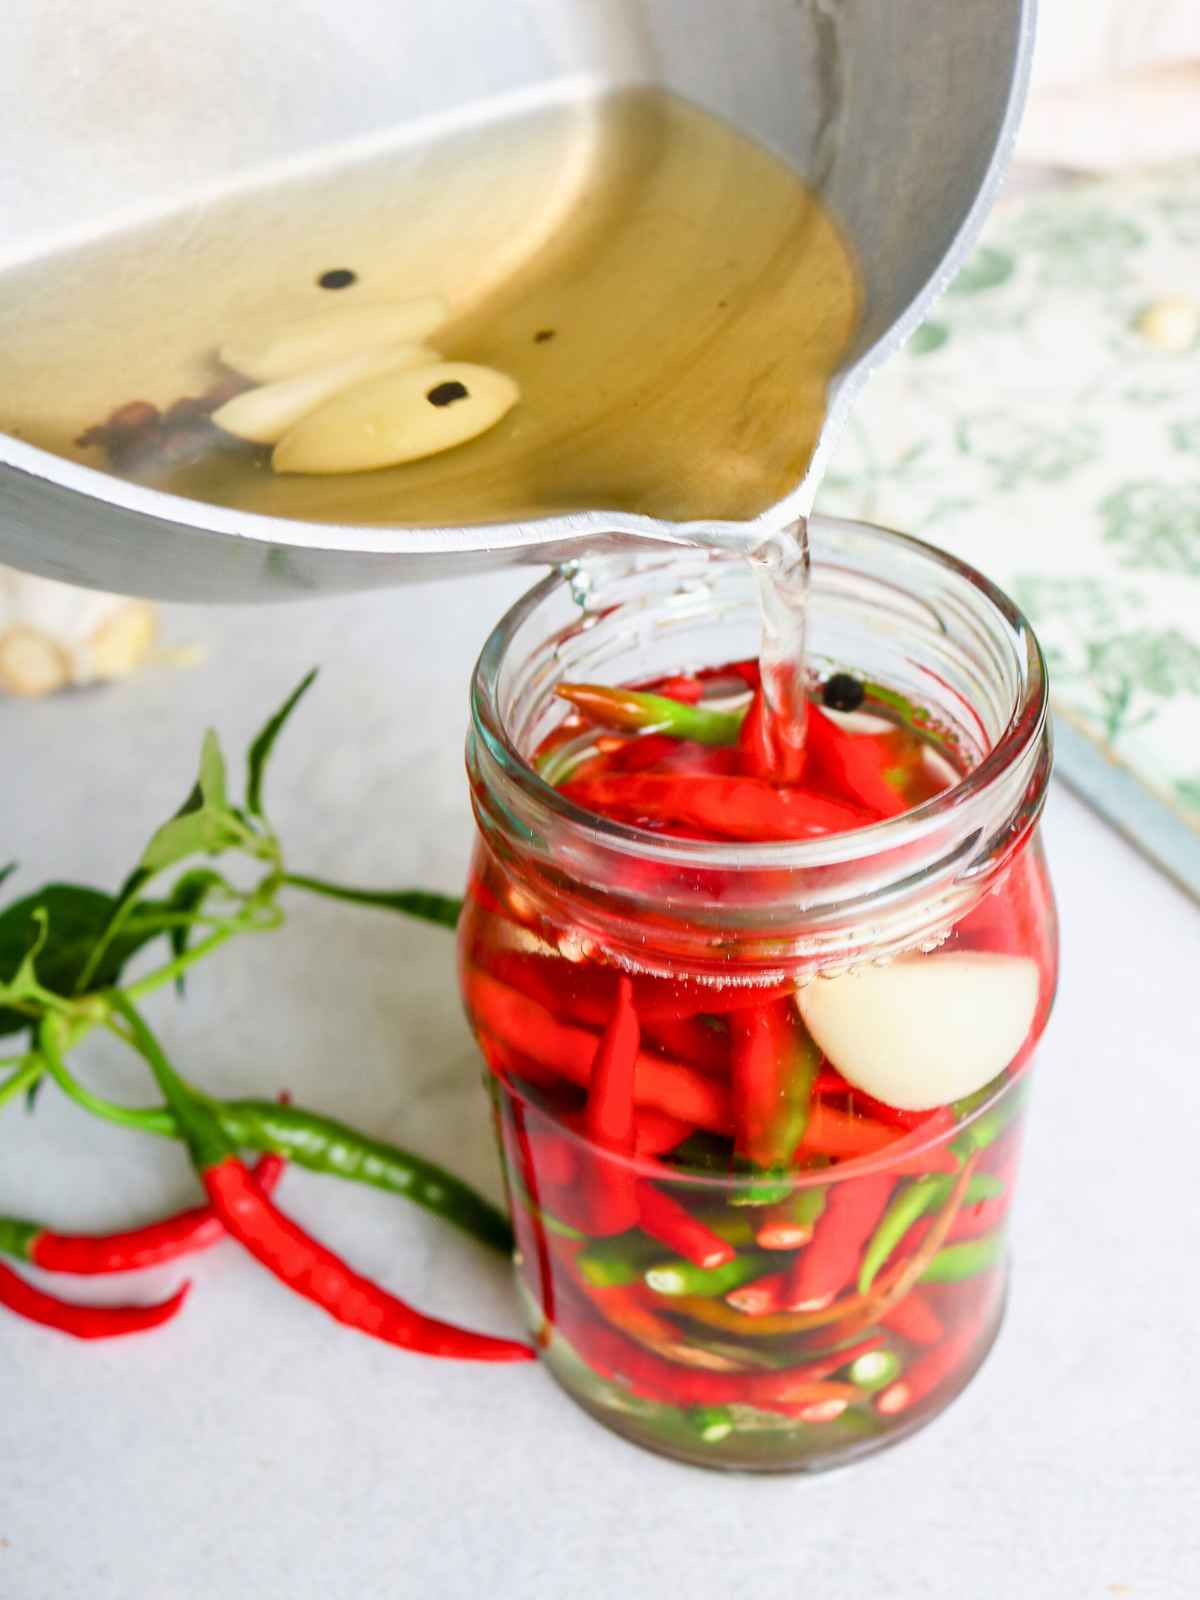
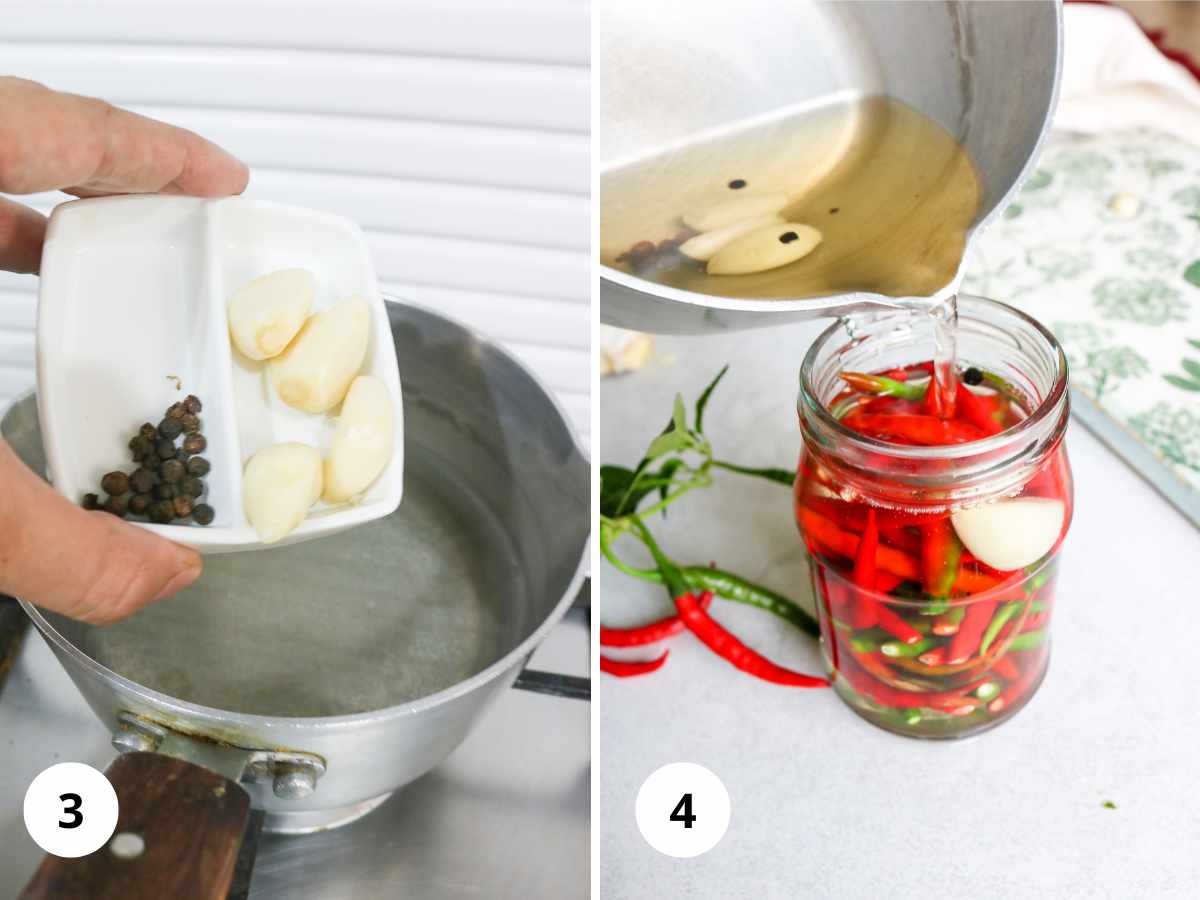
2. Make the Brine
In a saucepan, combine the vinegar, water, sugar, salt, garlic, and peppercorns. Bring the mixture to a boil, stirring occasionally to ensure the sugar and salt dissolve completely. This seasoned brine will be the key to pickling your chilies and enhancing their flavor.
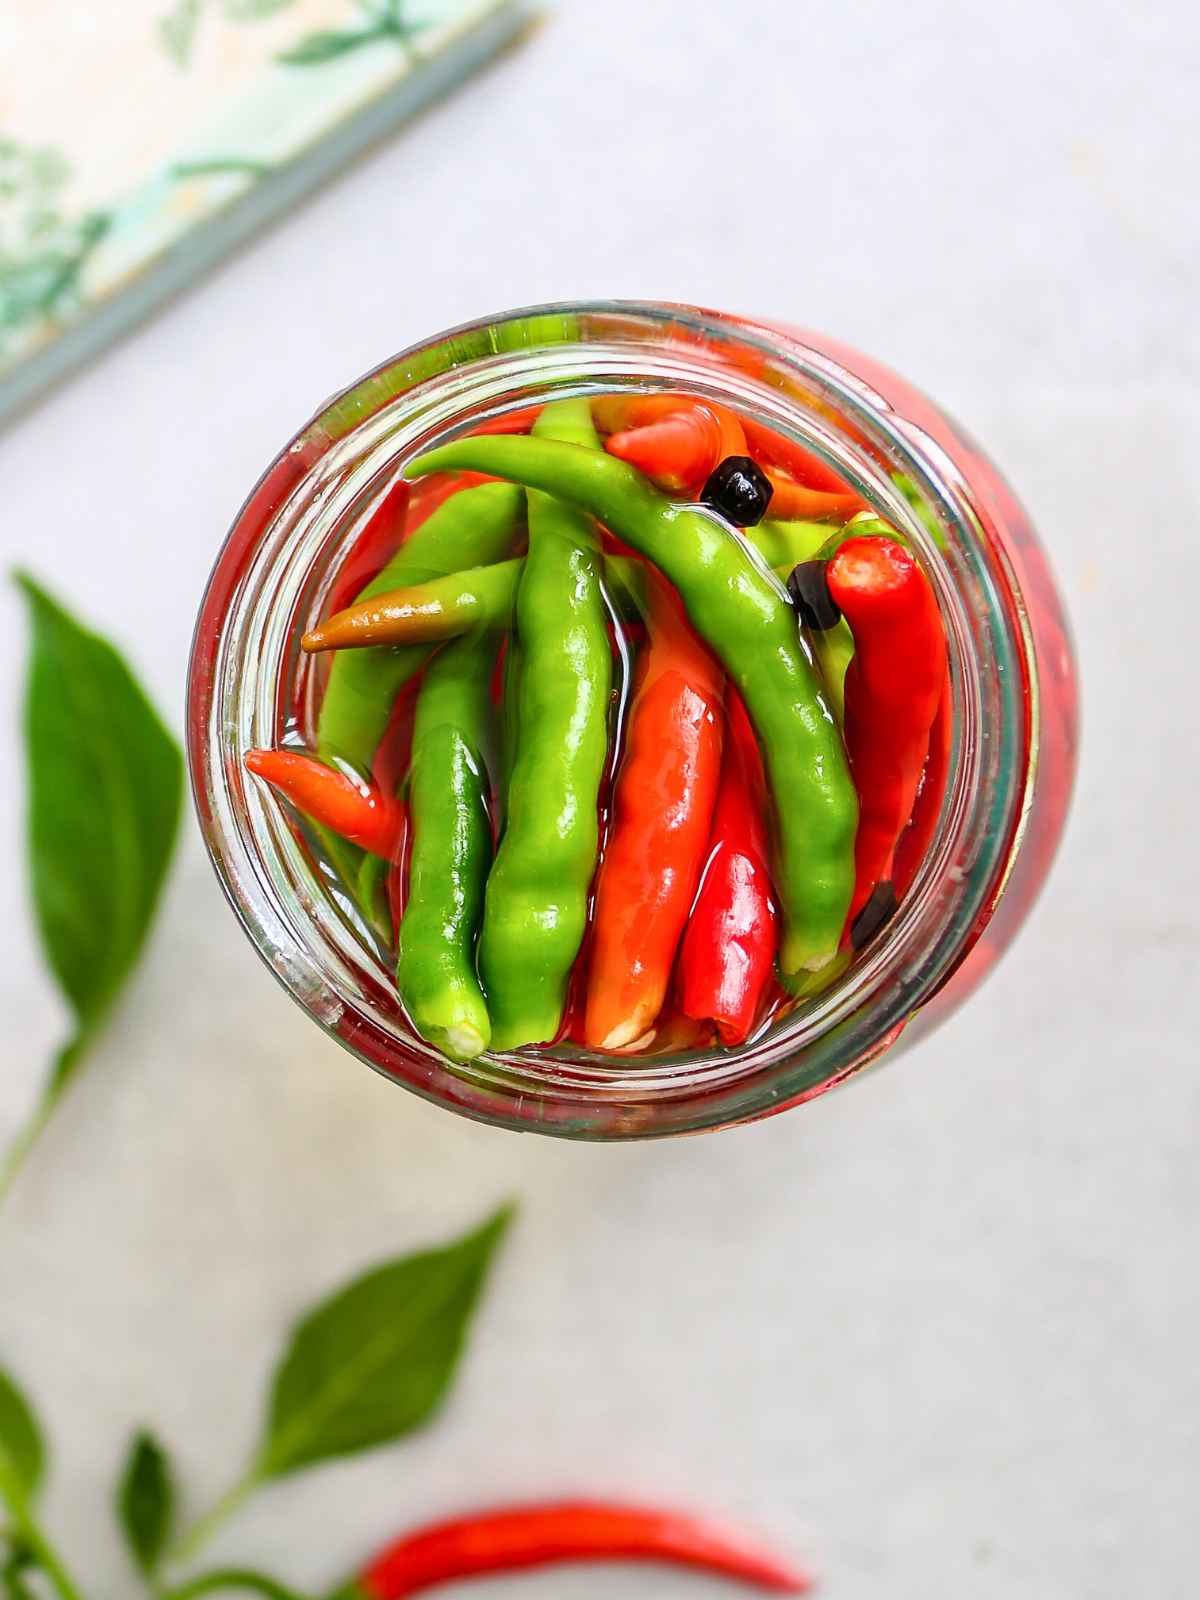
3. Assemble
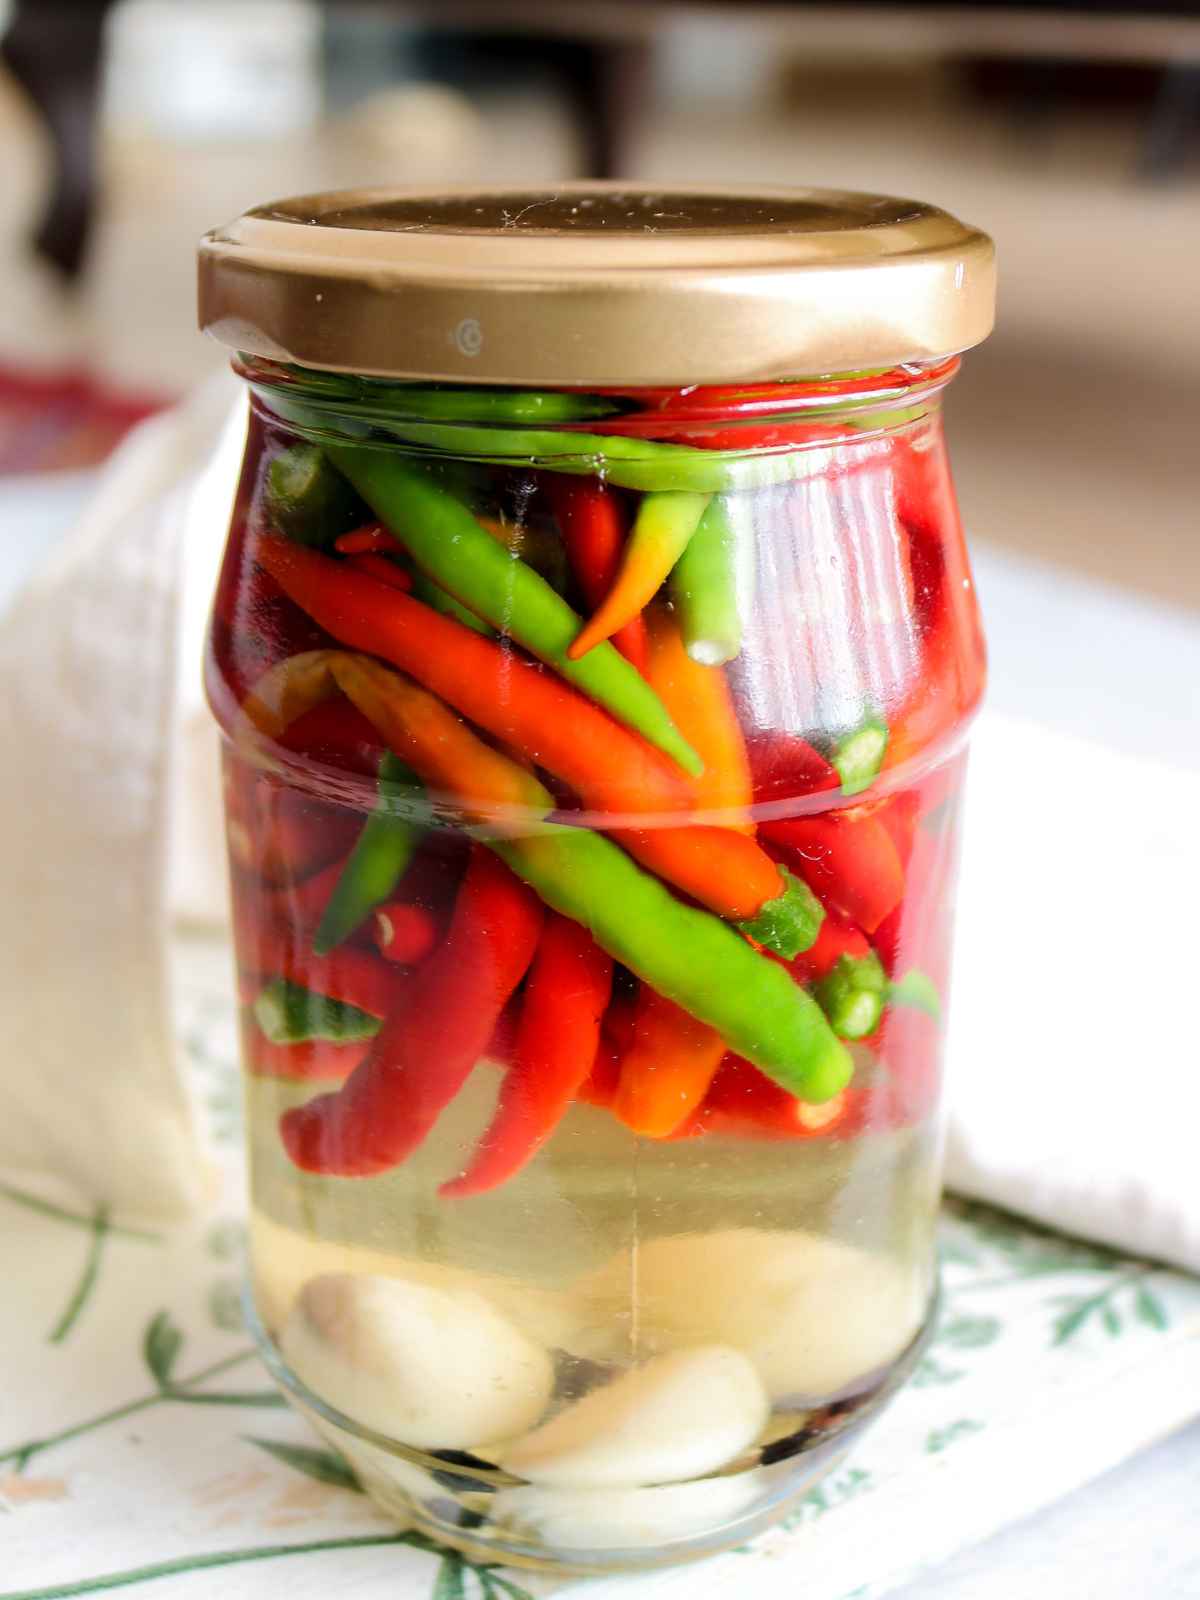
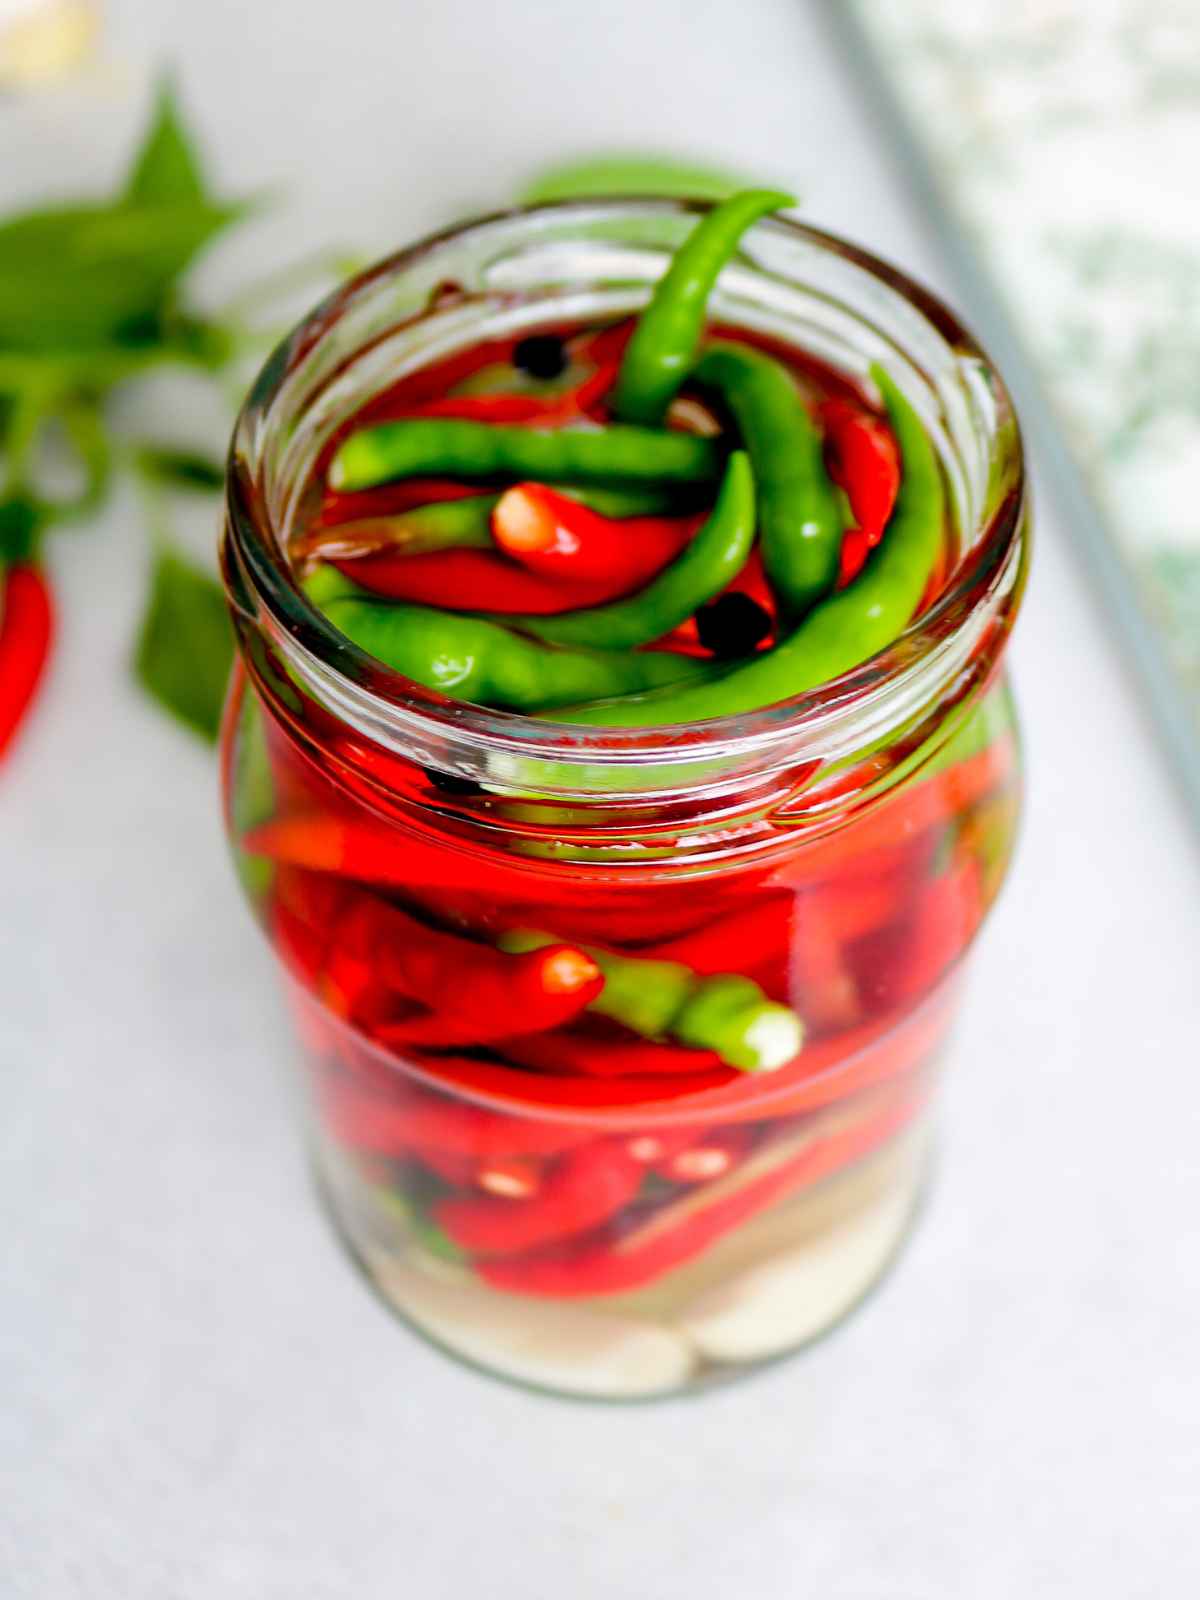
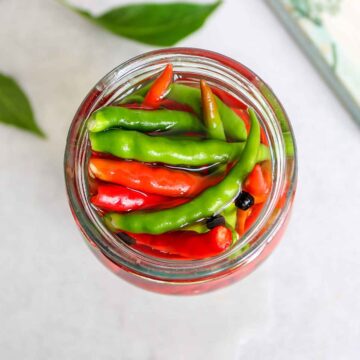
Place the chilies in the sterilized jar, then carefully pour the warm brine over the peppers until they’re fully submerged. Seal the jar tightly with a lid.
4. Wait for the Magic
While you can enjoy your pickled chili peppers immediately, it’s best to let them sit for at least 2-3 days in the fridge. For maximum flavor, wait a full week to allow the brine to deeply penetrate the peppers. The longer they sit, the more flavorful they’ll become.
Pickled Chilli Peppers Goes Well With
Pickled chili peppers are incredibly versatile, you can
- Add to sandwiches for a burst of heat and acidity
- Top burgers to elevate the flavor
- Sprinkle on pizza for a spicy kick
- Toss into salads for extra zing
- Perfect as a topping for tacos or nachos
- Use to spice up pasta dishes
- Stir into stir-fries for added heat
- Add to Soups and stews for heat and spice.
Storage
Once your chili pickle is ready, store it in the refrigerator. It will keep for several months, so you’ll always have a spicy, tangy topping on hand whenever you need it!
Enjoy the zingy, spicy kick of your homemade chili pickle all season long!
Love this Recipe? Please leave a 5-star 🌟🌟🌟🌟🌟rating on the recipe card below and, if you REALLY like this, consider leaving a comment with your thoughts!
Pickled Chilli Peppers
Ingredients
- 1 lb. Assorted Chili Peppers
- 1 Cup white vinegar
- 1 Cup Water
- 2 tablespoon Sugar
- 1 tablespoon Salt
- 3 Pcs Garlic CLoves
- 7-10 Peppercorns
Instructions
- Wash and Prep: Clean and dry chili peppers. Remove stems and slice if desired.
- Make the Brine: In a pot, combine white vinegar, water, sugar, kosher salt, garlic cloves, and peppercorns. Bring to a boil.
- Pickle: Place peppers in a sterilized jar. Pour the warm brine over the peppers, covering them completely.
- Seal and Store: Seal the jar tightly and let it cool. Refrigerate for at least 2-3 days before eating. For best flavor, wait a week!
Notes
- Use Fresh Peppers: Choose firm, fresh chilies for the best flavor and texture. Avoid any with soft spots or blemishes.
- Adjust Spice Levels: Mix different types of peppers (mild to hot) to control the heat level of your pickle.
- Sterilize Jars: Always sterilize jars and lids to prevent contamination and ensure longer shelf life.
- Let Flavors Develop: For the best taste, allow the chili pickle to sit for at least a week before using.
- Customize Your Brine: Add extra herbs like bay leaves, or spices like mustard seeds, to personalize the flavor.
- Slice for More Flavor: If your chilies are too thick and large slicing allows them to absorb more of the brine, giving a deeper flavor.

Leave a Reply